The Gear/ Filters
There’s a lot of misunderstanding when it comes to filters. I suppose most people today when they think of filters think about the Instagram or social media variety. You know… the kind you apply with one click that give you a soft focus look, or the ones that give you pixie ears and a bunny’s nose. And then there are the ones that suddenly turn your photos into black and white artsy film noir photos. Or the filters that make your grandma look like she was 20 years old again. I could go on, but suffice it to say, these aren’t the filters that professional photographers deal with day in and day out. The ones I’m talking about attach to the front of your lens and are made of glass or resin.
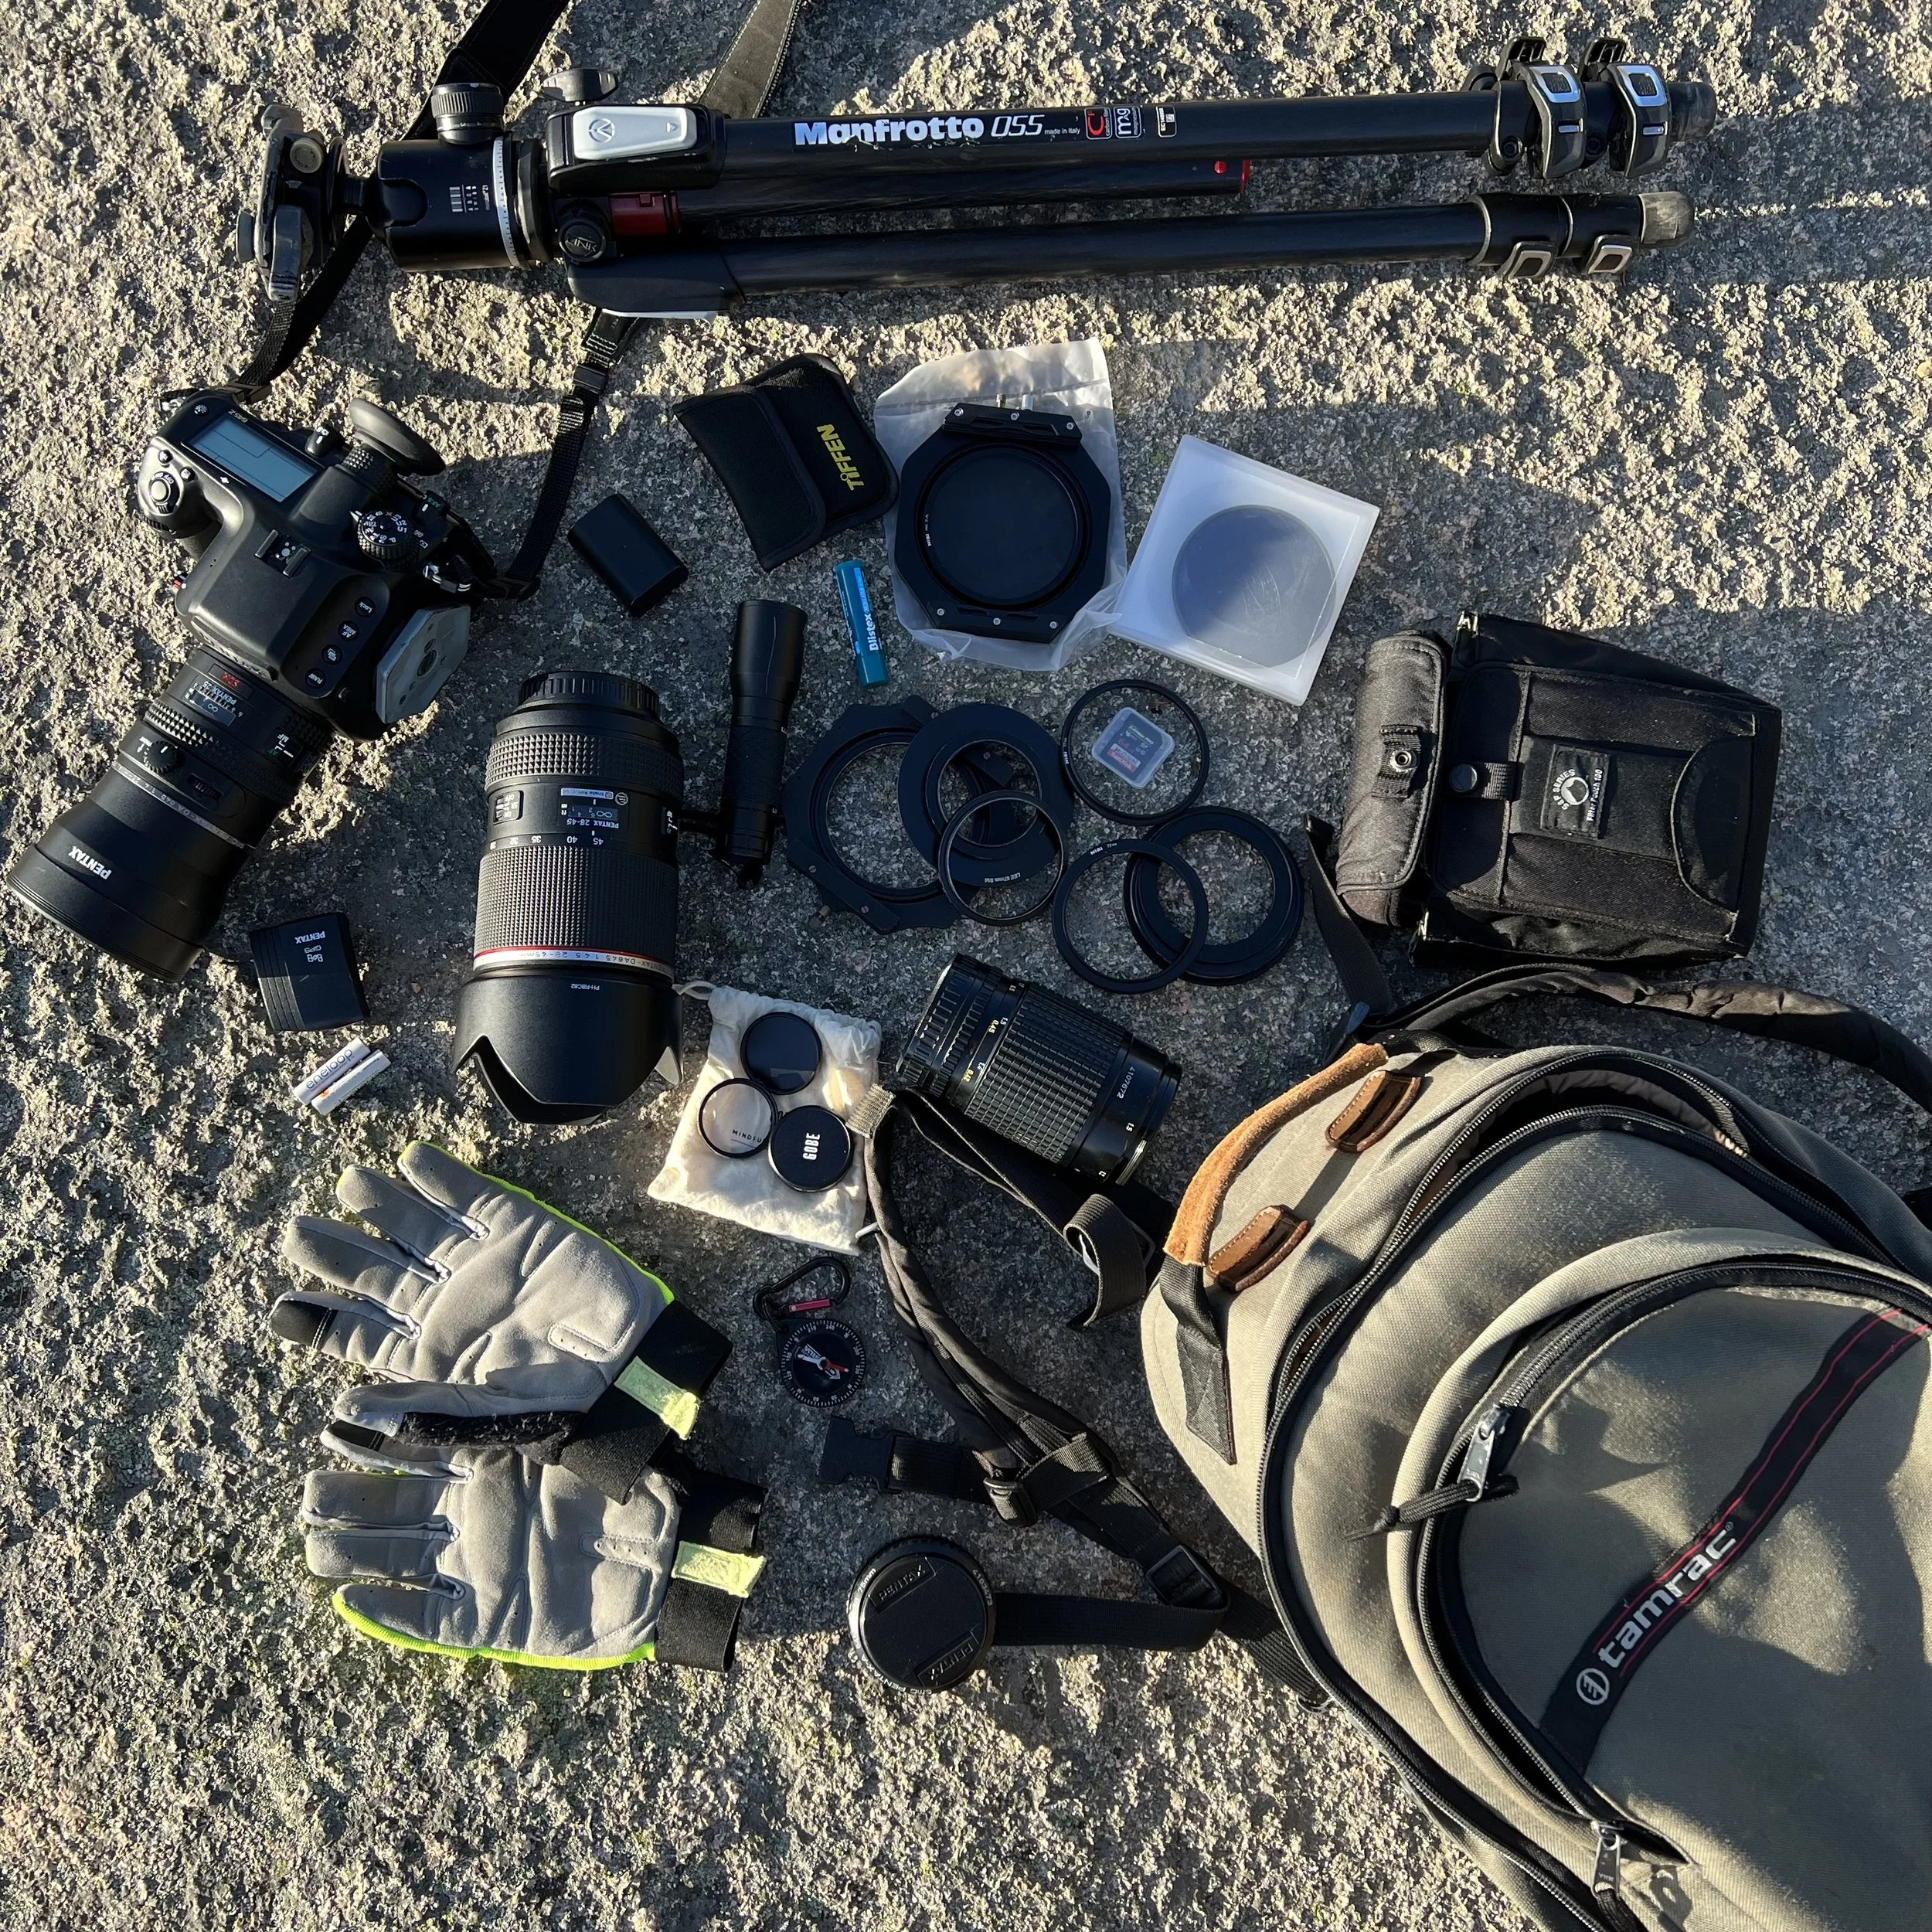
A recent photo of my camera bag emptied on Gorham Mountain in Acadia last October. This is everything I took with me when I climbed the mountain, starting in the dark (see the flashlight center left?). My polarizing filters are just below the tripod, while the delicate and easily scratchable graduated ND filters are in the filter pouch above the camera bag. A few small internal filters that only fit on my widest lens are top right of the gloves.
As a landscape photographer, I never head out without my pack of filters in my camera bag. But if I’m honest, I’ll often not even use them. Why not? Well, in my photos I’m always striving to create an authentic image of a scene, not enhance it with my own ideas of how it should look. Almost all my images, however abstract some might seem, were taken in-camera, meaning I don’t like to go overboard and add things that weren’t in the scene I saw. So why even carry filters with me in the first place?
I basically bring two sets of filters along to every landscape shoot- neutral density and polarizing. Neutral density (or ND) filters basically do one thing– they darken the image. Why would you want that, you ask? For the simple reason that when you add a dark filter to the front of your lens, you need to increase the exposure time for your image. And that in turn can mean the longer exposure makes the water in a waterfall appear smoother, or the waves along the coast flatten out and draw more attention to the rocky coastline. Or you may use a longer exposure to blur moving clouds in the sky.
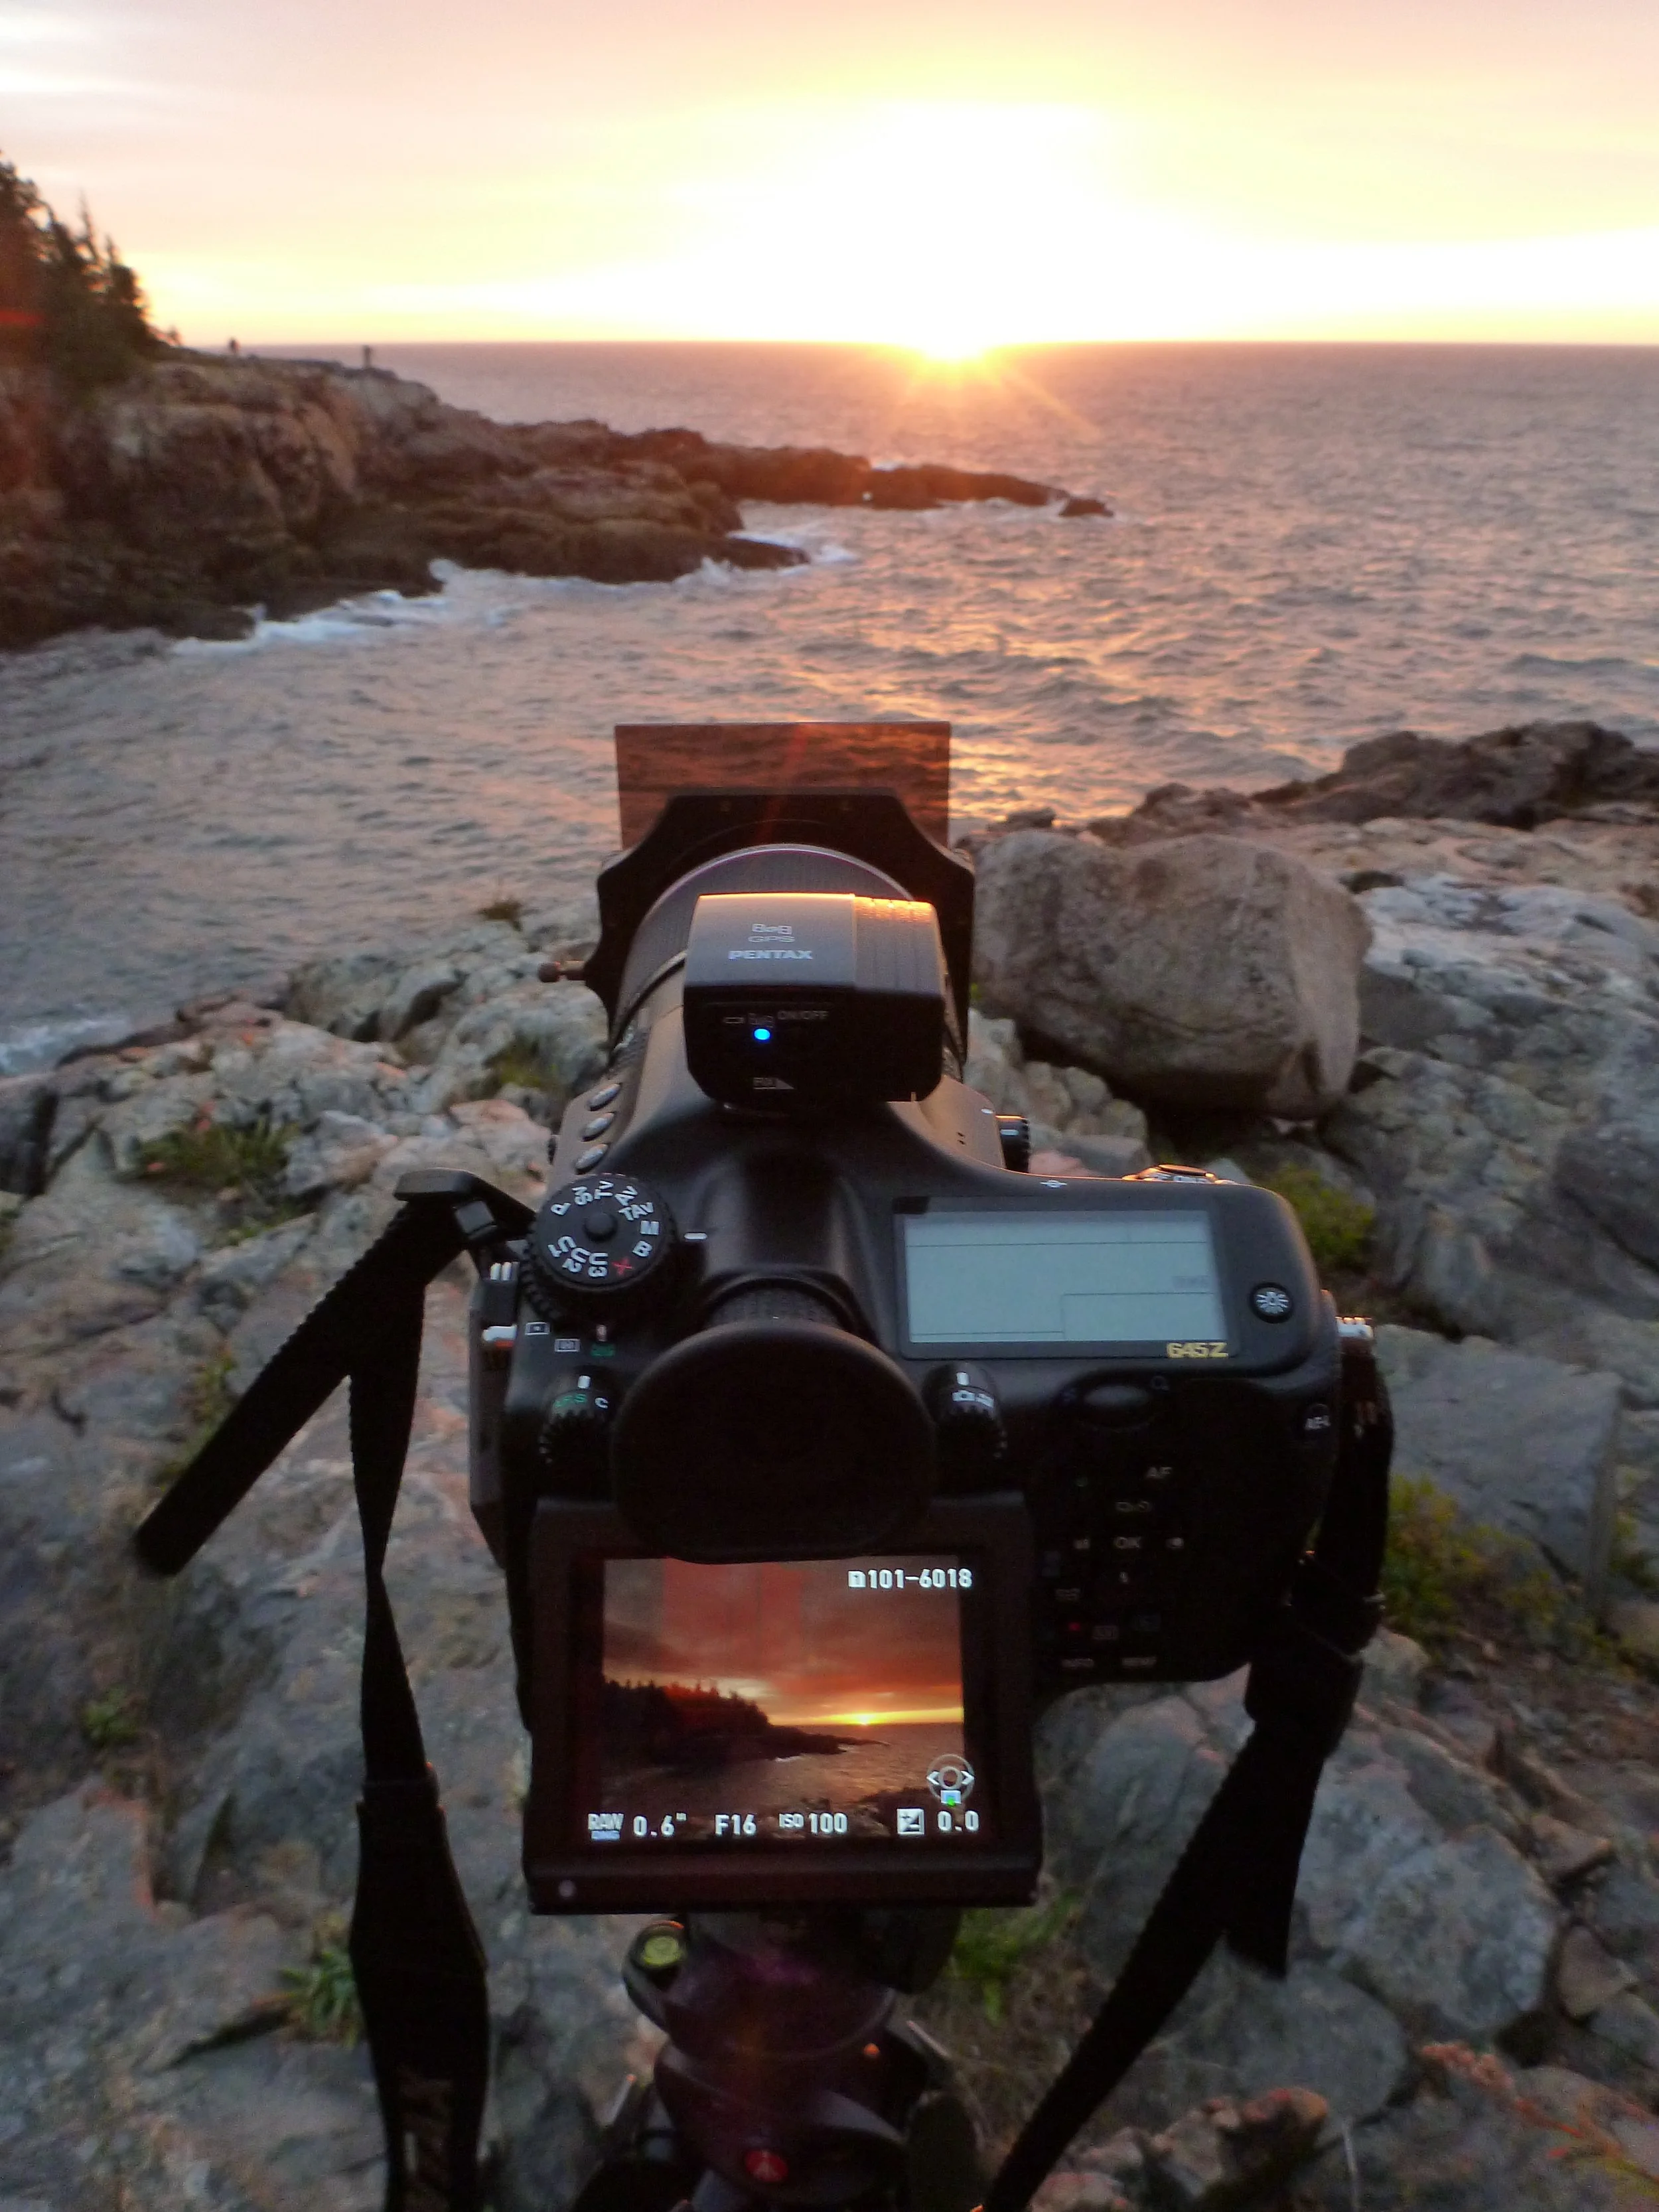
Using a graduated ND filter to darken the sky but not the rocks and water below. Notice how blown out (bright) the sky is in my phone picture, but on the back of the camera, the brightness of the sky has been ‘tamed’ by using the filter.
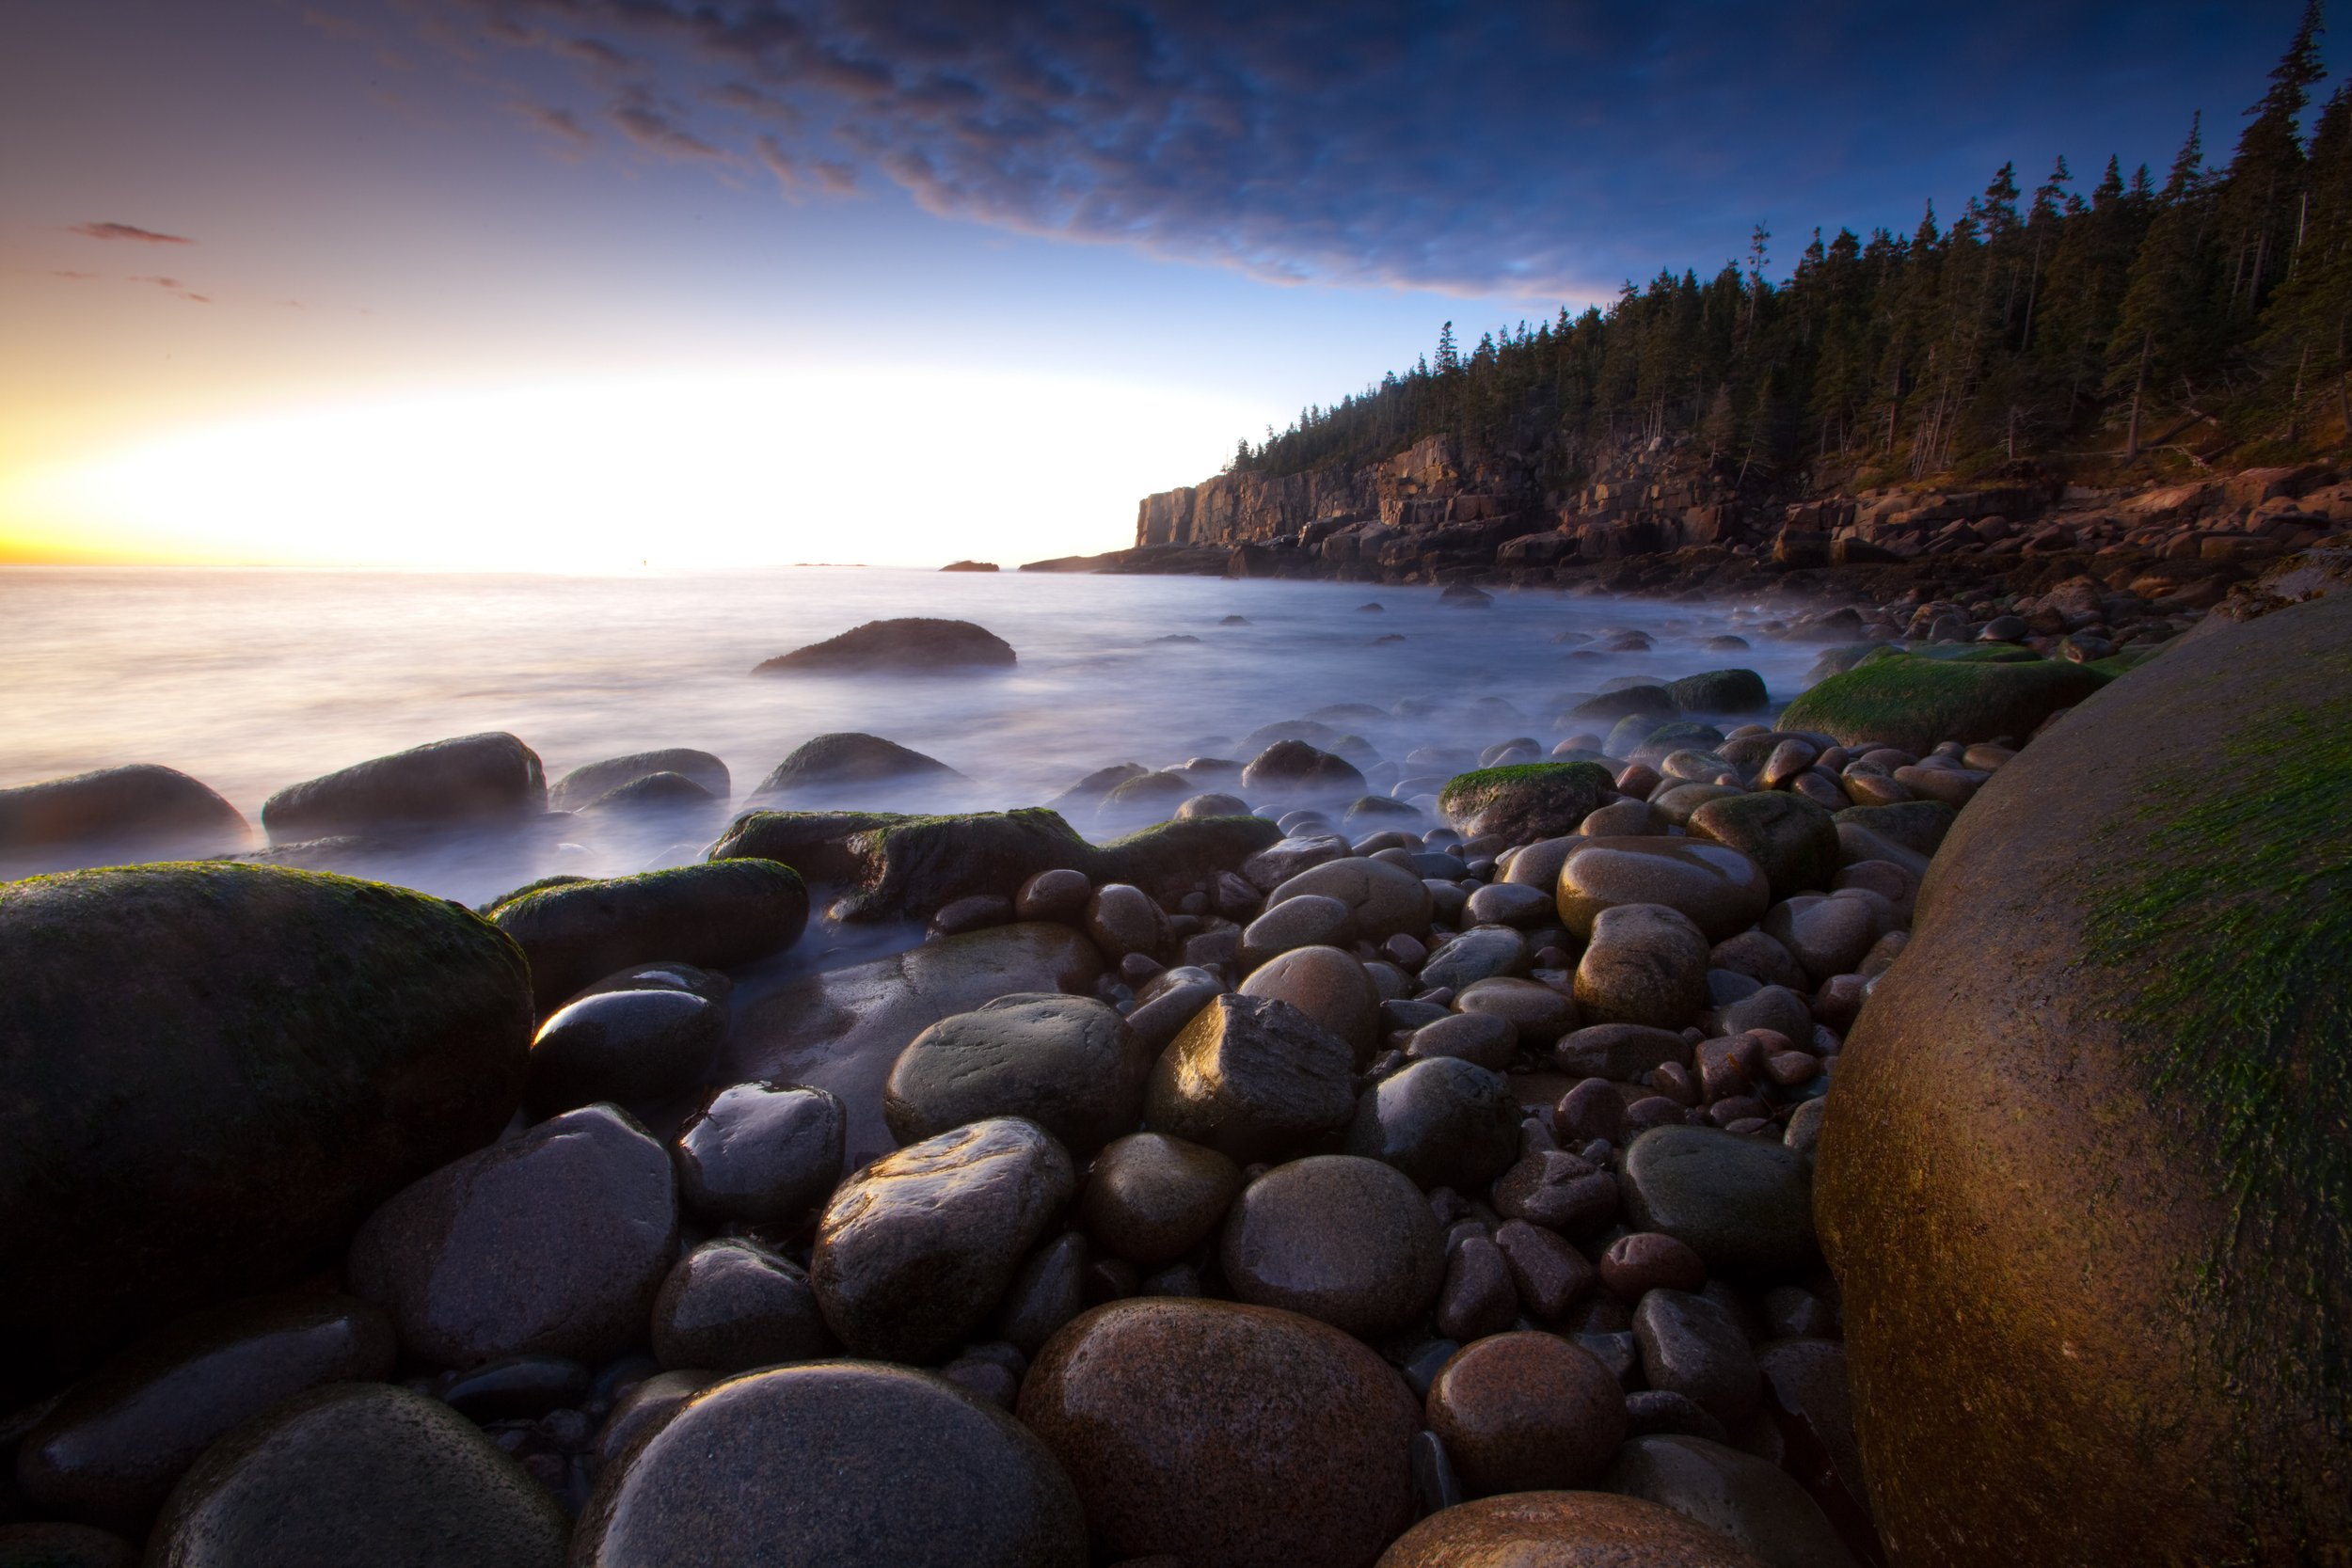
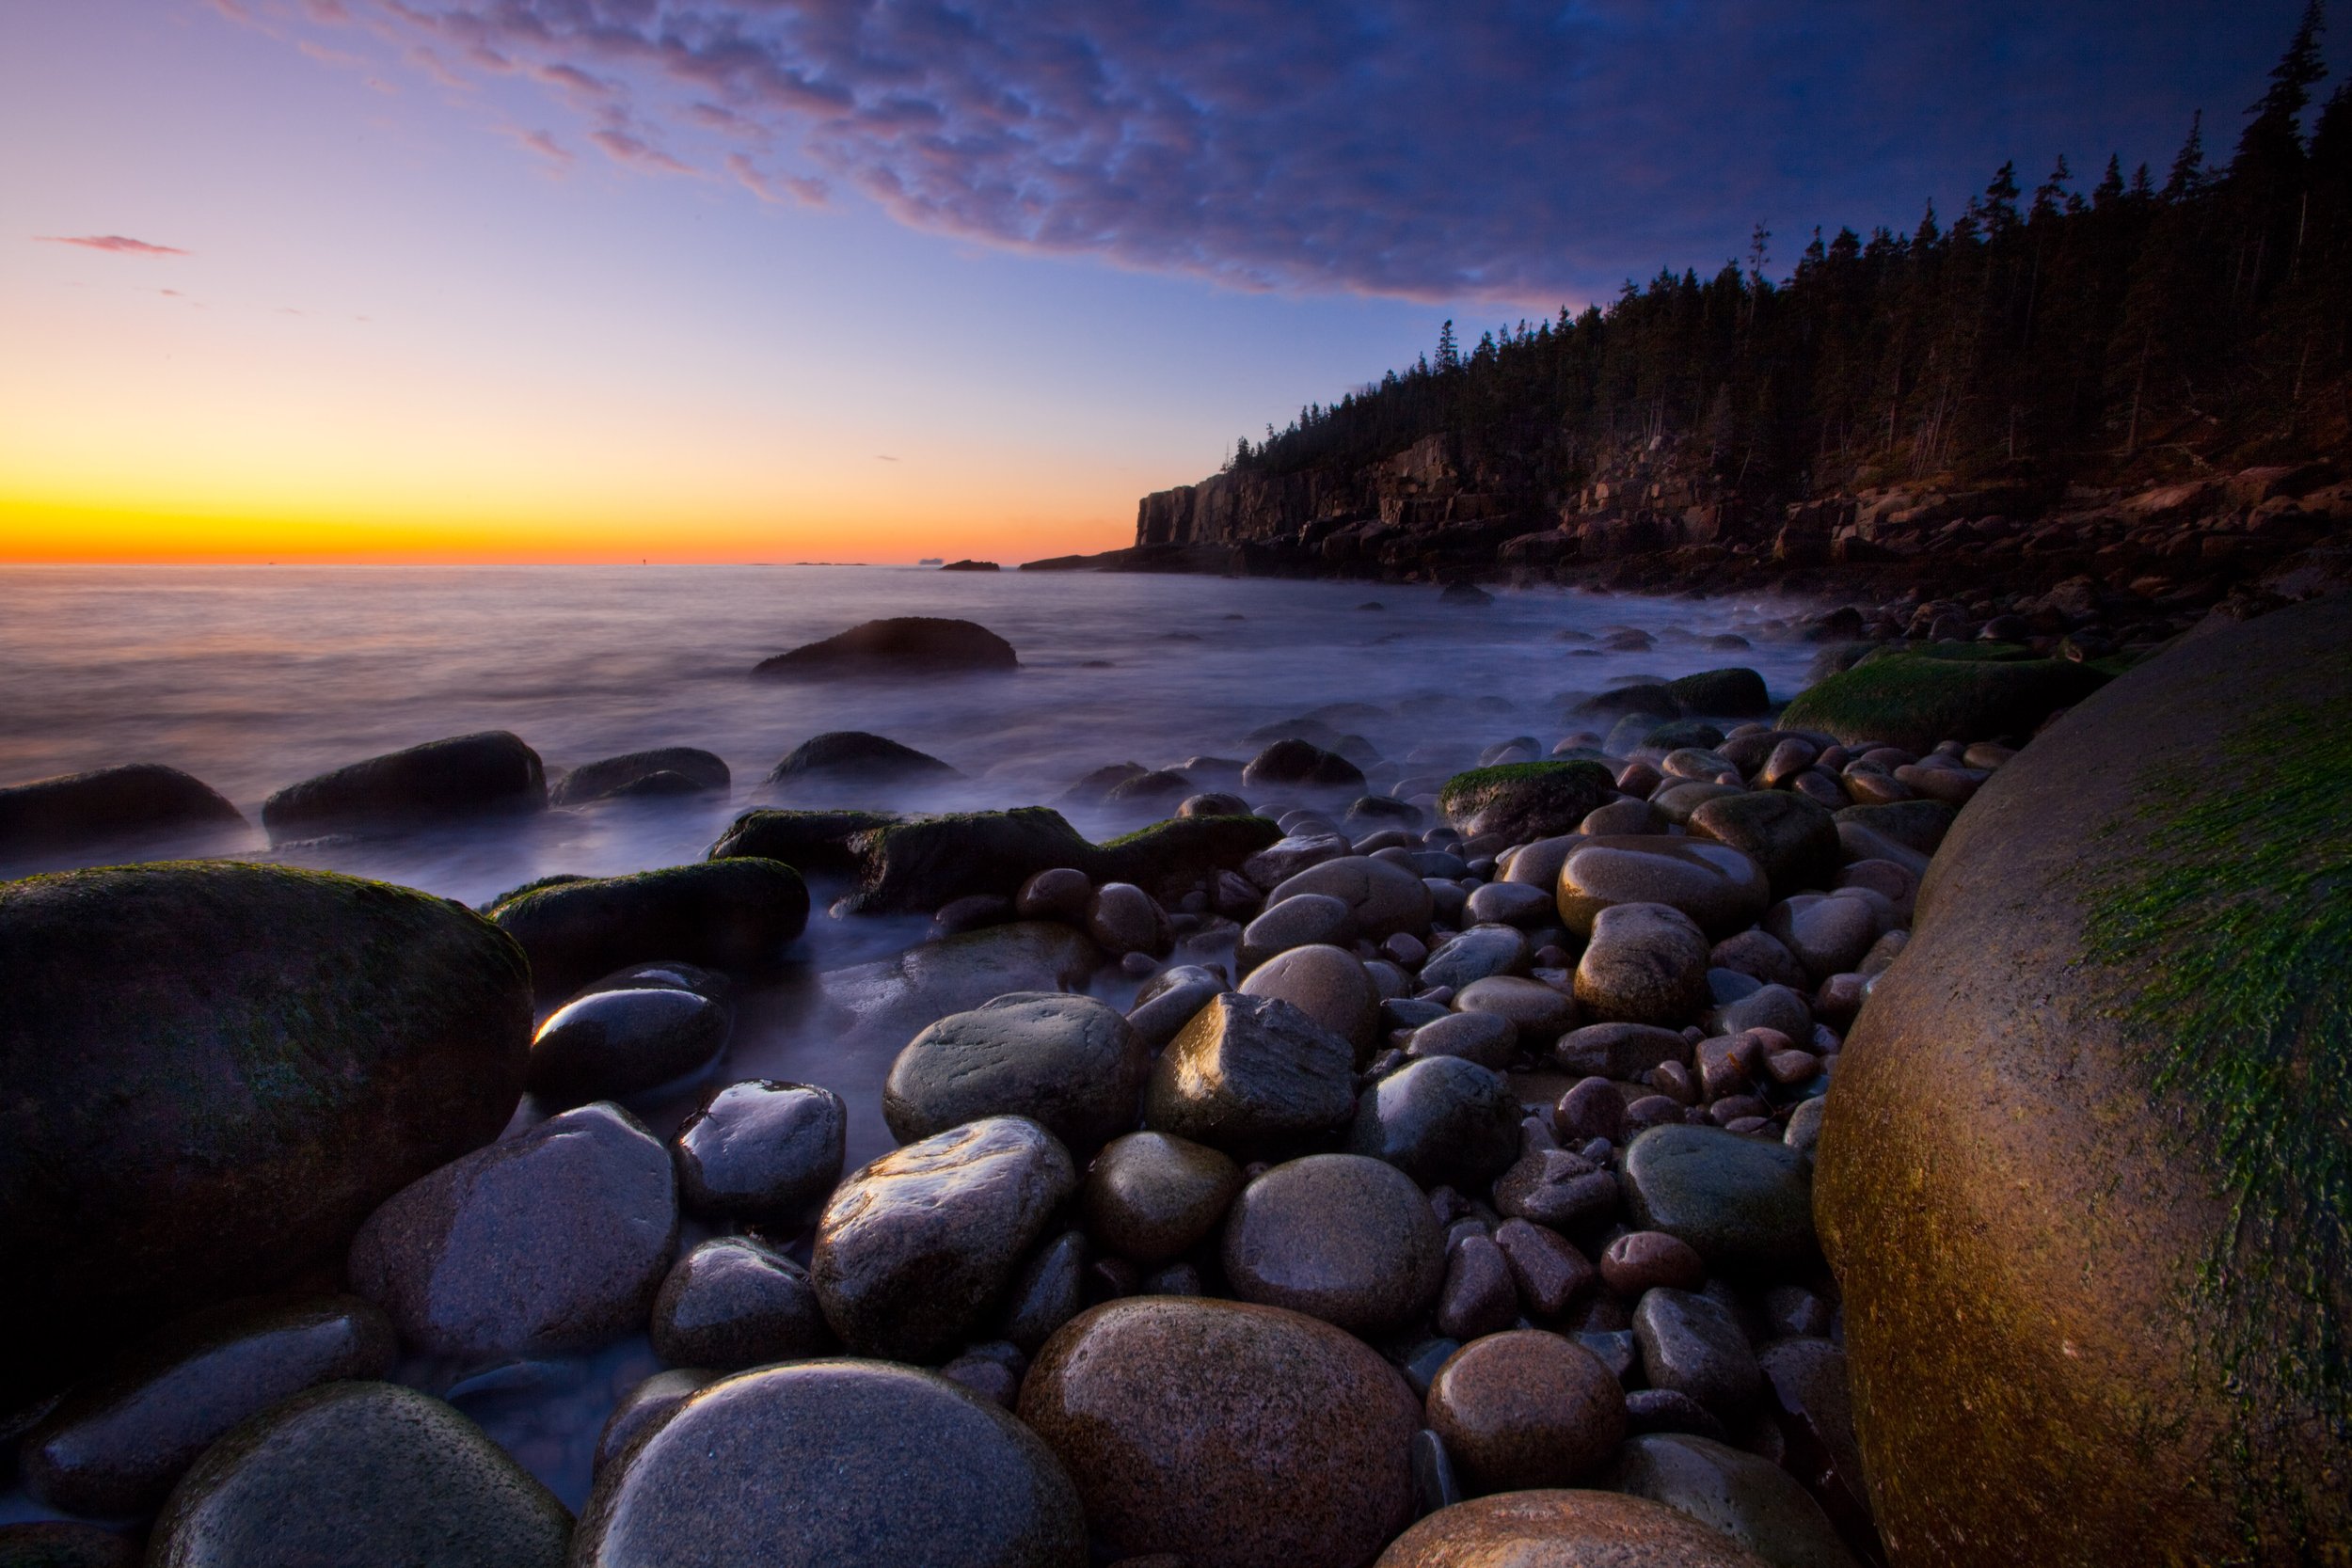
In landscape photography, ND filters come in most handy when you use a split ND filter, also know as a graduated ND filter. These handy filters have a darker top and clear bottom so when you position them to cover the upper part of your image (usually the sky), you bring down the brightness of the sky to match the brightness of the ground below, resulting in a more realistic and natural image. Most cameras don’t have the dynamic range to show all the details in a bright sky as well as the details in the ground below, so without the filter, you would either get a normal sky and a darkened foreground, or a washed out white sky and a properly exposed foreground. If you look at the two pictures at the top of this article, you’ll see one taken with no filters, and the other taken using a graduated ND filter over the sky. Notice the big difference in the two?
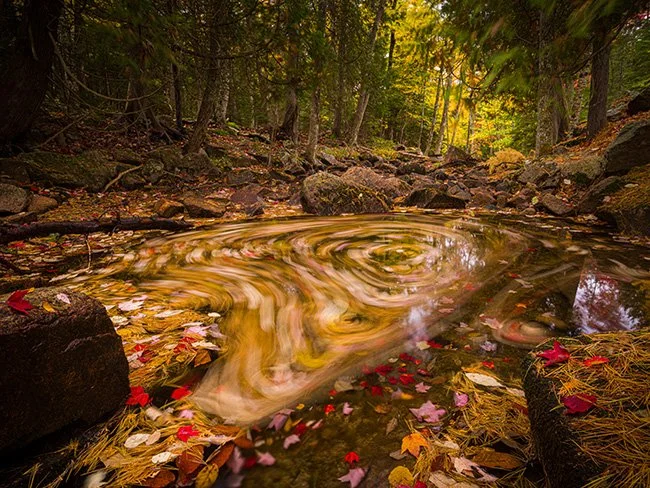
By using a 10-stop ND filter, I needed to compensate by increasing my exposure time from about 1/50 second to 20 seconds, revealing the swirling water. A shorter exposure wouldn’t have shown that the water was slowly spinning round and round in the stream.
There are many different strengths of ND filters, some that only slightly darken an image, while others are so dark that you can’t see through them at all. My 10-stop ND filter is opaque unless I hold it up to the sun- it’s really like using a piece of welding glass in front of your lens. But when you use this filter in a photo of water, for instance, the long exposure required really emphasizes the water’s movement, as in the picture above. But because it’s so dark, it’s best to compose your image first, then attach the filter once you’ve got your composition figured out.
The other filter in my bag is the polarizing filter, or PL filter. Primarily they’re used to darken a blue sky or remove reflections. I see these being overused in landscape photography all the time. Most photographers use them to polarize, or darken, blue skies, and oftentimes, they’re very effective. But you have to be careful not to overuse them, because a PL filter used in the wrong way can turn a blue sky almost black and un-natural.
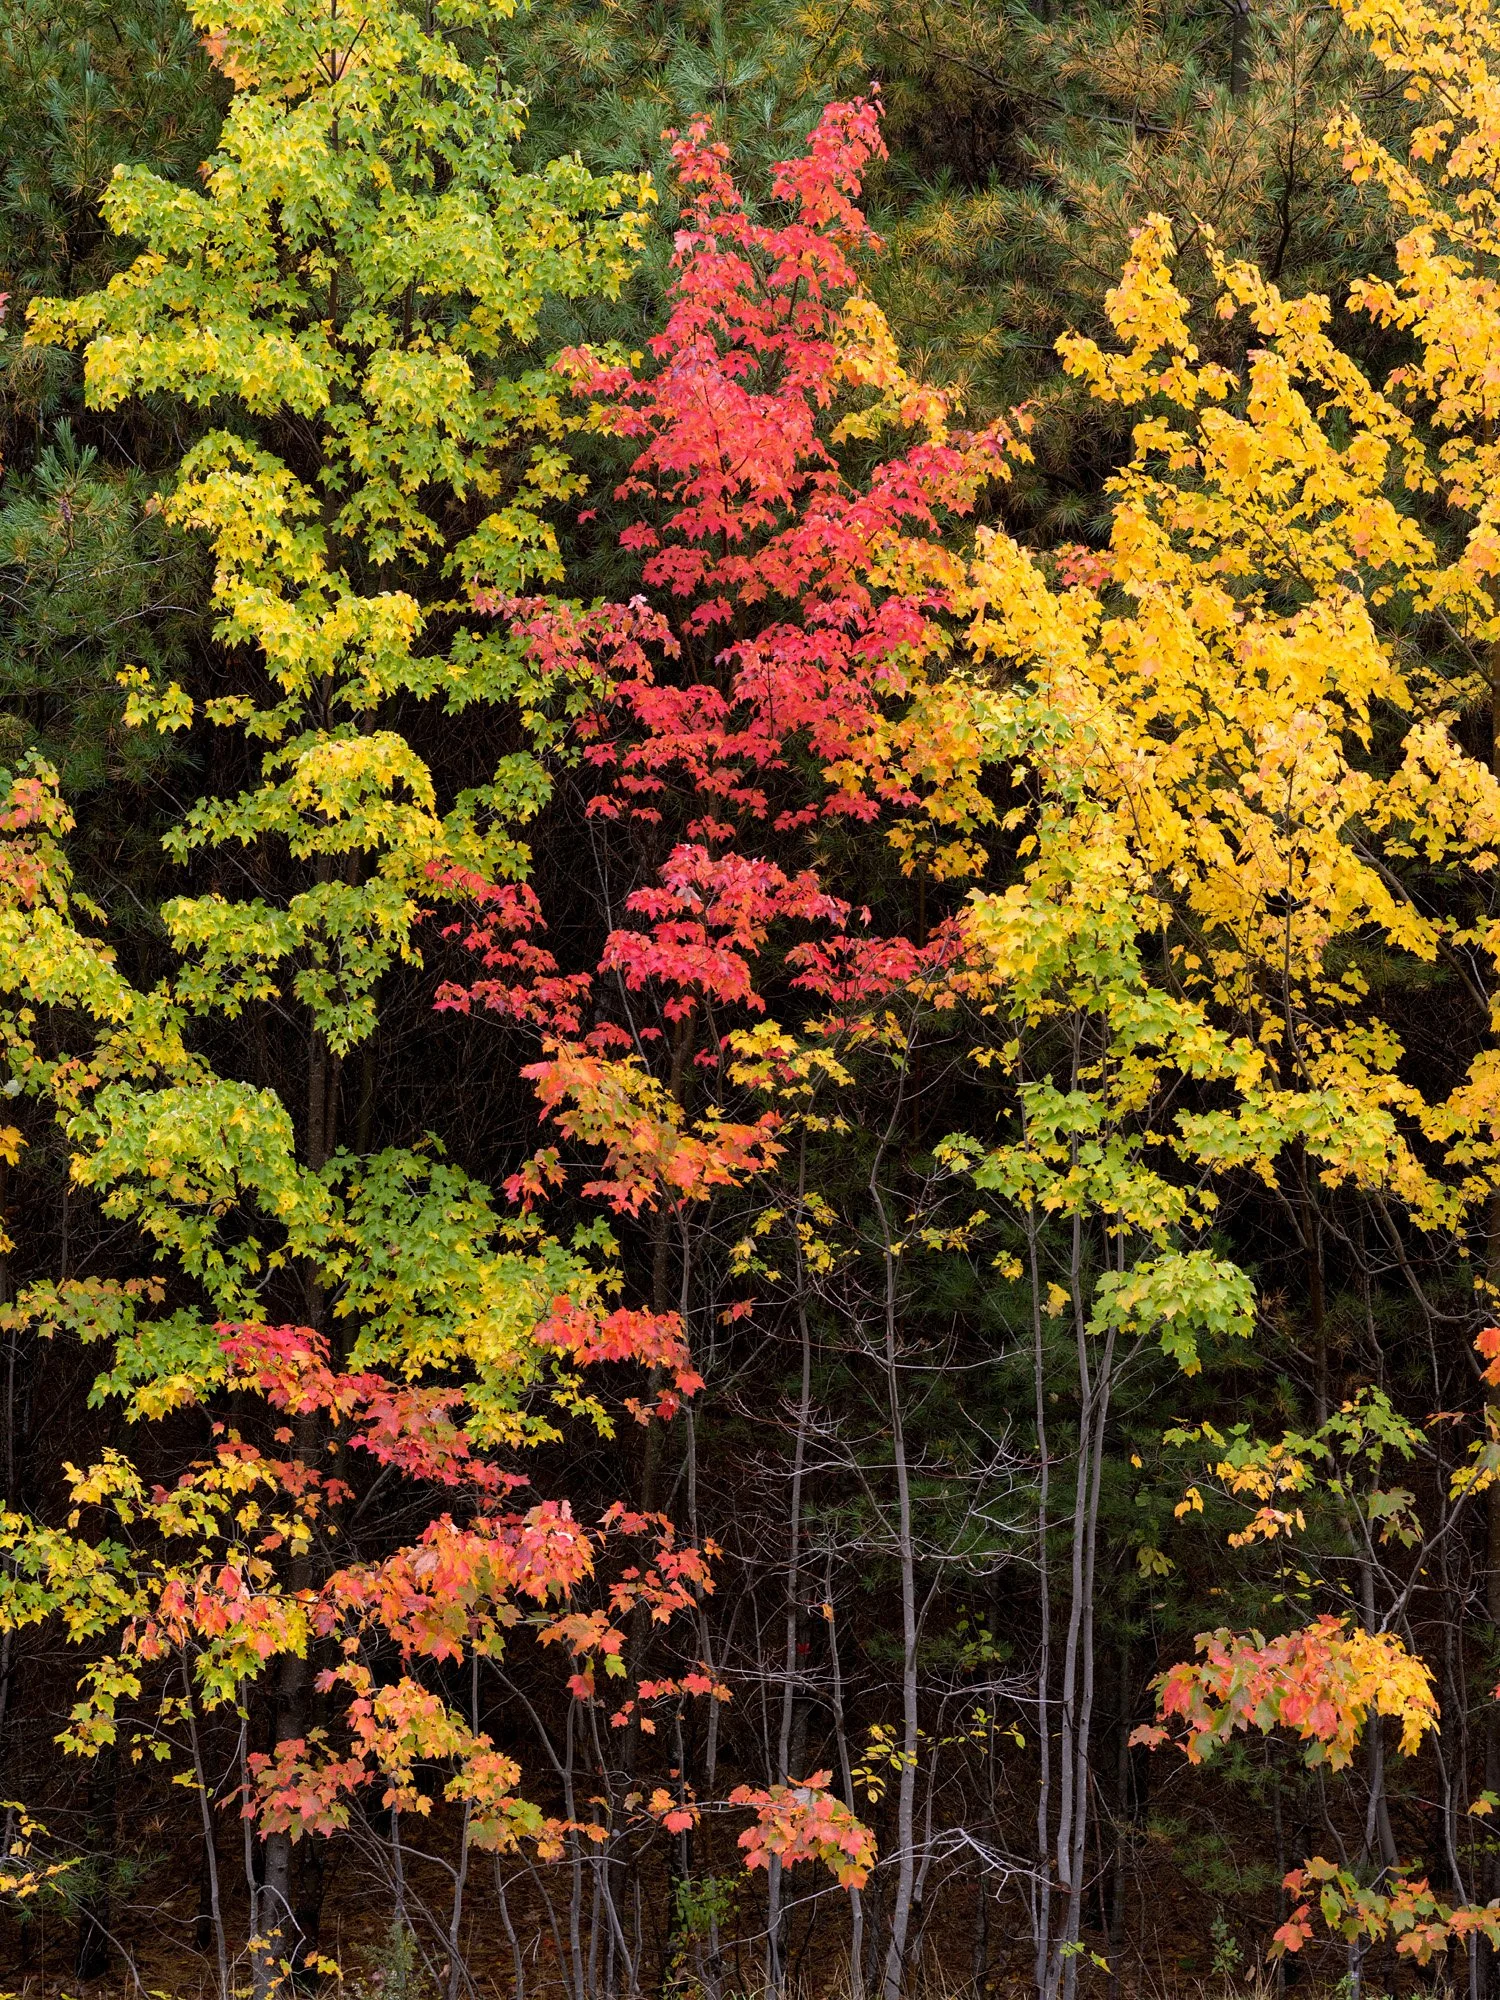
On a wet morning, I used a polarizer to reduce reflections on the leaves and add contrast to the image. This darkened the shadows and helped to separate the leaves from the background.
What I find most even better in landscape photography is using a polarizer to control reflections. By twisting the filter one way or the other, you can reduce or eliminate reflections on water, windows, metal and even on wet pavements, trees and foliage. In my autumn photography, I use this a lot on wet days; reducing reflections on the leaves leads to more saturated and colorful images.

When you’re using different lenses with different filter thread sizes, you don’t want to spend money buying filters to fit each lens individually. Instead, you can buy step up filters that will enable you to use one filter on any lens. Normally, buy the filter that will fit your widest lens (for me that’s an 82mm filter thread size on my wide angle lens). Then use step up rings to use that 82mm filter on your 77, 72, 67, 58 and other lenses.
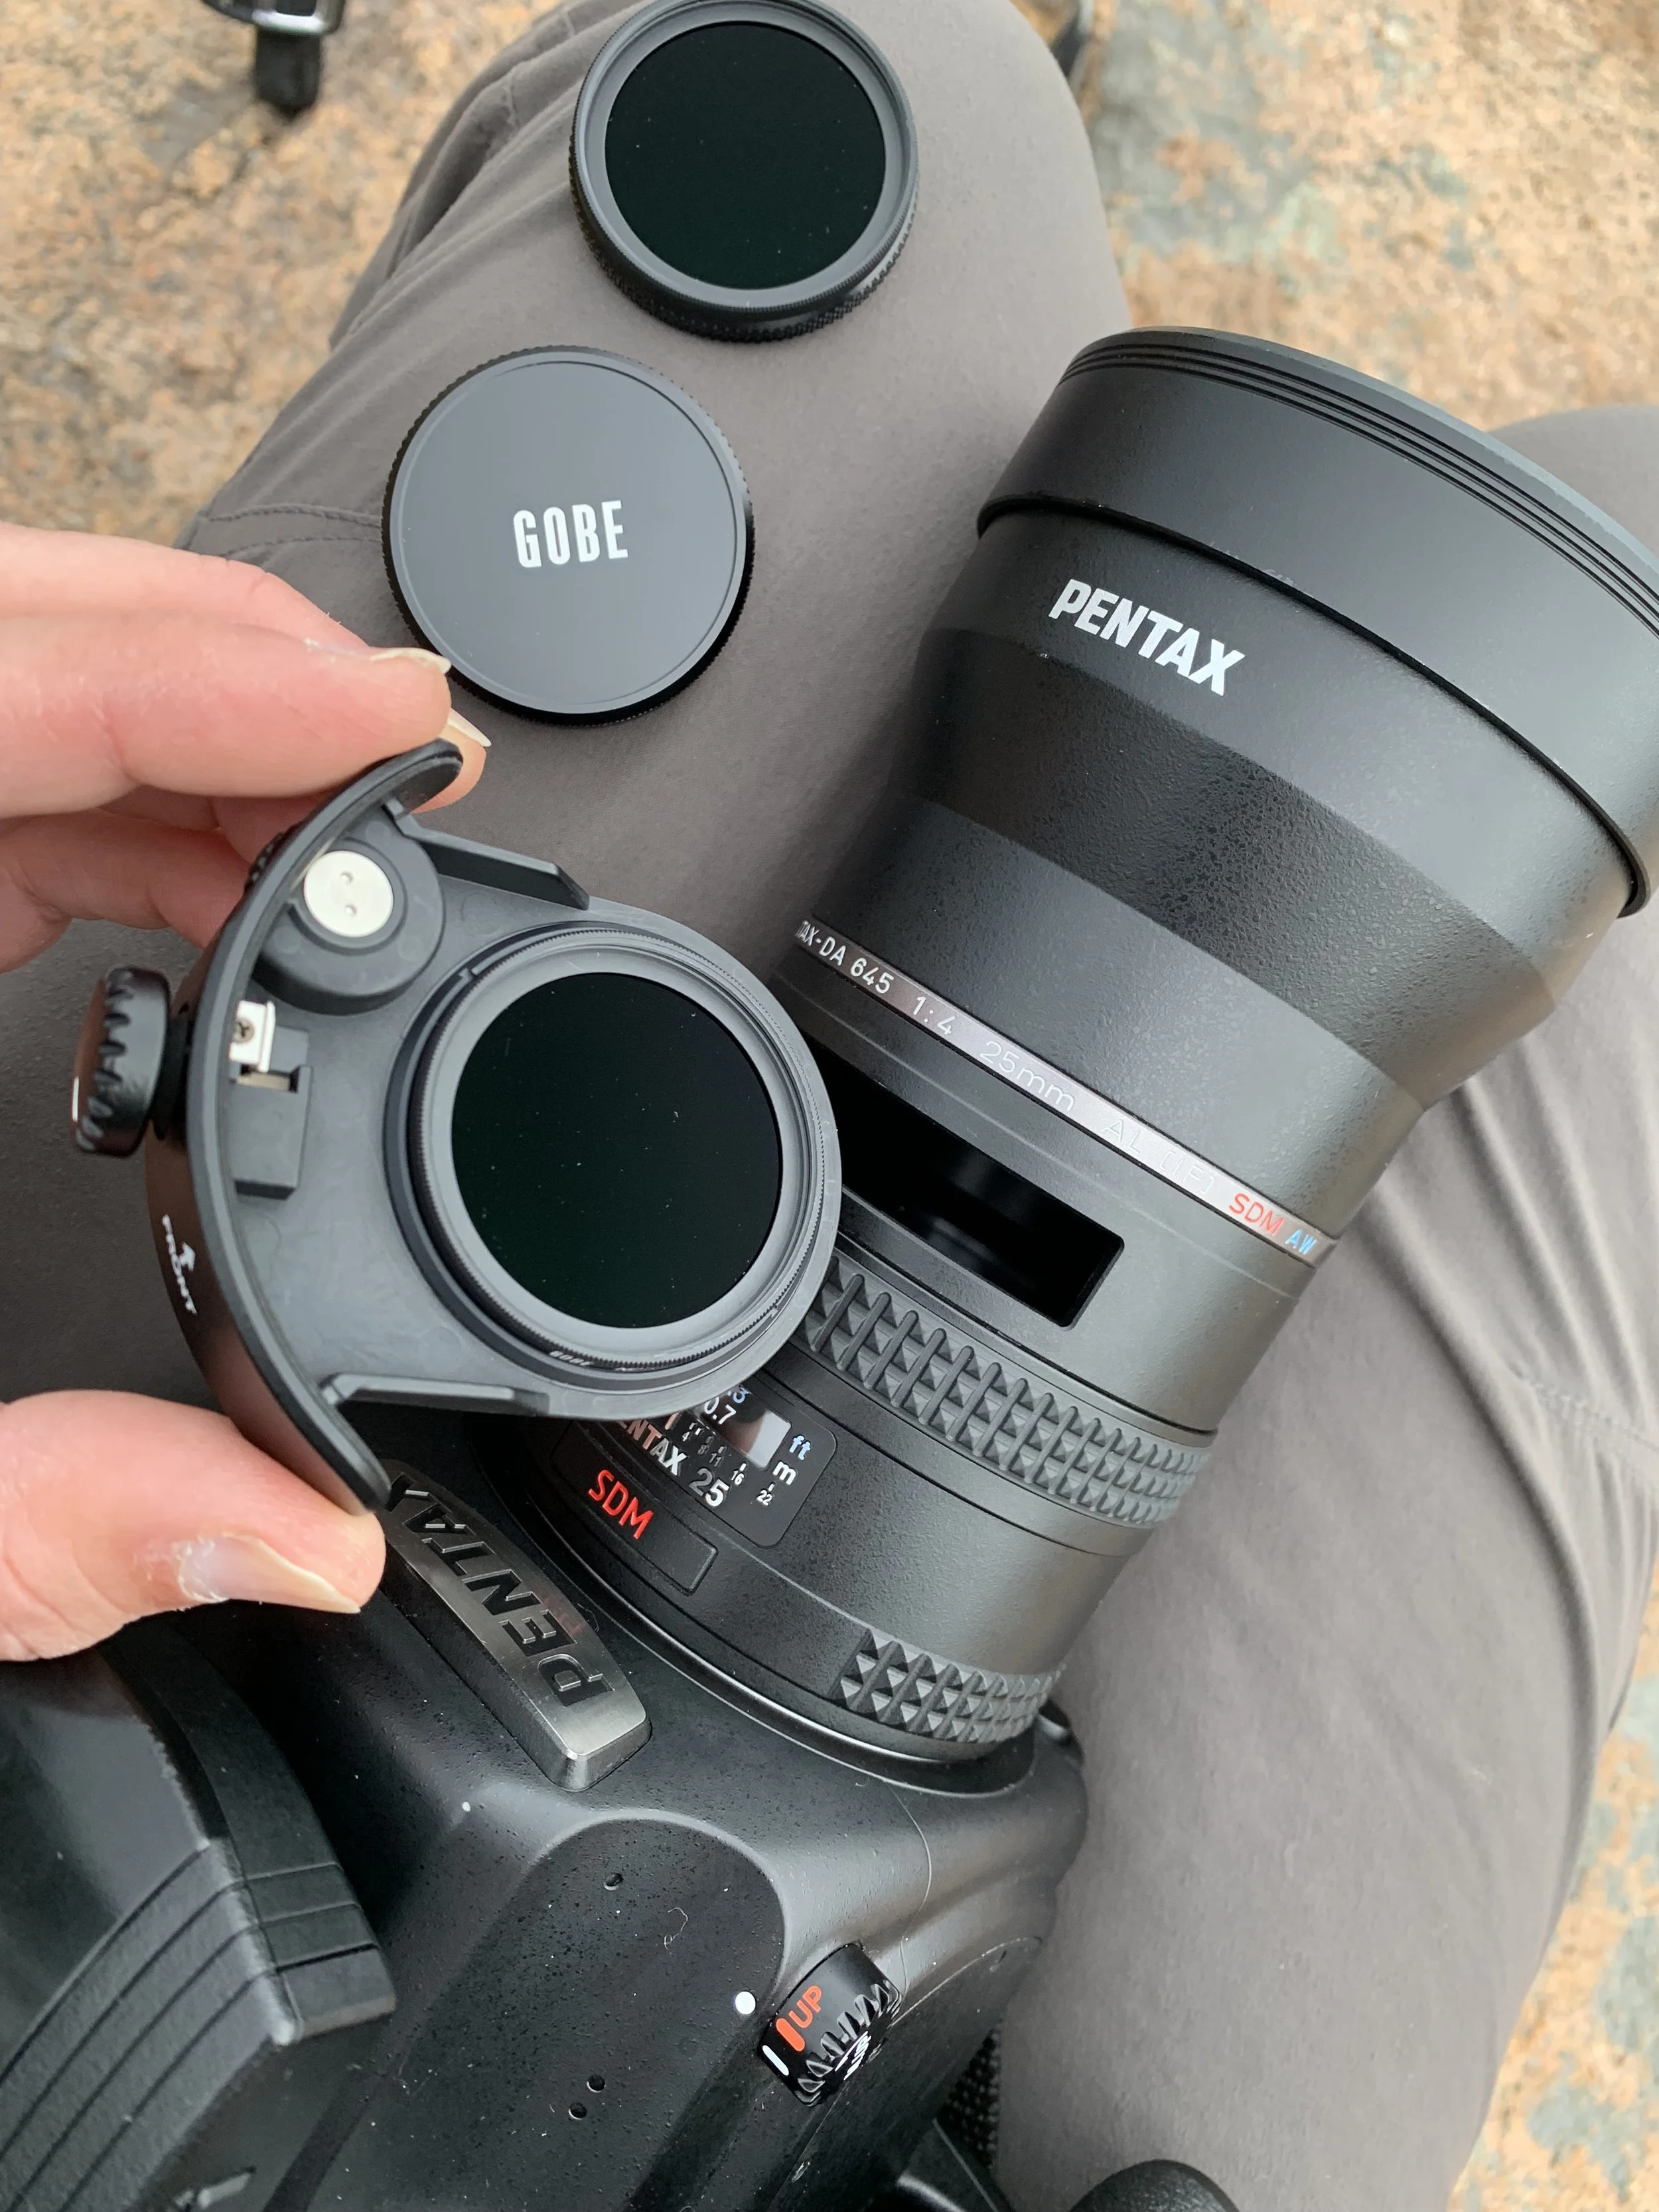
My 25mm lens has a built-in lens hood, which means I can’t attach a filter to the front of the lens. The solution is to use internal filters, like this 40.5mm polarising filter that fits in the slot on the top of the lens.