The Gear... Neutral Density Filters
A neutral density filter is basically a dark piece of glass you put in front of your lens, for no other reason than to darken the scene, which in turn means that you’ll need a longer exposure to get a decent image. But why would you do that, you ask? Well, mainly for artistic reasons. Read on to learn how and why.
Let’s say you’re photographing a stream and you want to make the water look smooth and creamy. If you make a straight picture of the scene, the water will generally appear pretty bland and uninteresting. But if, by putting a neutral density filter in front of your lens, you have to use a longer shutter speed, the water will become blurry and give you a nice, soft appearance, specially if you can slow down your shutter speed to longer than a couple of seconds.
In the image below, I used a three-stop (.9) neutral density filter and a twenty-five second exposure to blur the water and make it stand out against the darker rocks. Without the filter, the water wouldn’t have been as interesting; it would have blended with the rocks and all but ‘disappeared’ into the composition.

In the image below, I used a ten-stop filter, which means I needed ten times the exposure to take the picture. In this case, it took a 93-second exposure, or one and a half minutes. With such a long exposure, the choppy waters of Newport Cove were reduced to a milky smooth surface, almost like frosted glass. Is it realistic? No, but it’s an artistic interpretation and as artists, we’re free to make these choices when we create art with our camera.

I’ve also used a neutral density filter to photograph trees. In the image below, it was a breezy day, and I decided to use a really long shutter speed to accentuate the movement of the leaves, so that they became a colorful, soft blur of motion. I used the 10-stop filter again to lengthen my exposure to 162 seconds, rendering the grass and most of the leaves as soft blurs.

The Graduated Neutral Density Filter
As photographers, it’s our job to get the exposure right. If it’s too dark or too light, the photo’s ruined. In landscape photography, it’s even more crucial that we get the exposure right. If the shadows are too dark (underexposed), we lose a lot of the subtle details. If the sky is blown out (overexposed), we lose the subtlety in the clouds and the sky becomes a blob of white. Fortunately for the landscape photographer, we have graduated neutral density filters to help us solve, or at least minimize, the problem.
Where neutral density filters really come in handy is when you’re photographing a scene with a bright sky and a darker foreground. In this scenario, you’re either left with exposing for the sky (which will give you a dark foreground) or expose for the ground (which will give you a blown-out, overexposed sky). A graduated neutral density filter will add some darkness to the upper part of your scene, thereby lowering the brightness of the sky more to levels that match the foreground. Graduated ND filters are usually rectangular and fit into a filter holder that screws onto the front of the lens. Then you can slide the filter up or down to match the horizon line in your composition.

Graduated ND filters are usually rectangular and fit into a filter holder that screws onto the front of the lens. Then you can slide the filter up or down to match the horizon line in your composition.
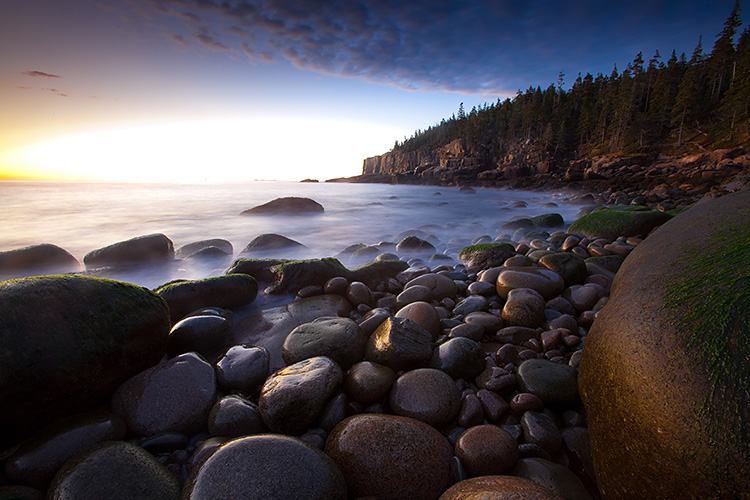
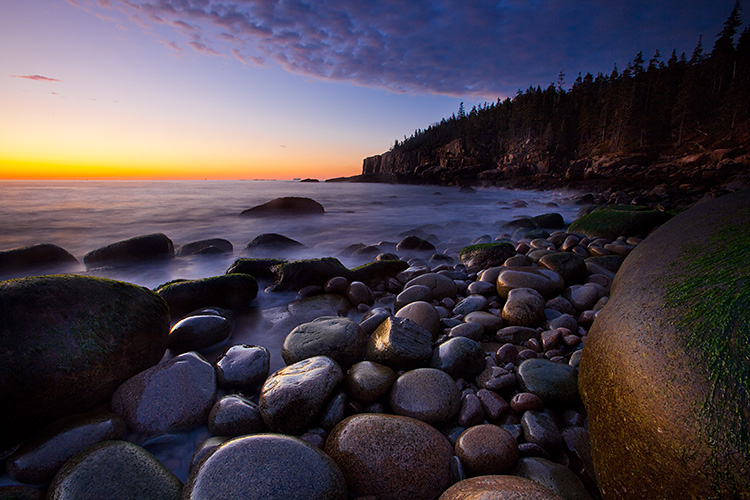
In the picture on the left, no filter was used. Notice how the sky has ‘blown out’ to pure white, with no detail near the horizon. We’re missing any detail here. In the picture on the right, I used a 3-stop graduated ND filter, which has brought down the light levels in the sky (but not on the rocks, which were covered by the clear glass portion of the filter). Now we can see the band of orange at the horizon and nothing is blown out. Notice however, that the darker part of the filter (which covered the top 40% of the picture), has darkened the cliff on the right. It doesn’t ruin the picture, but that is a consequence of using graduated filters– some areas may become darker.
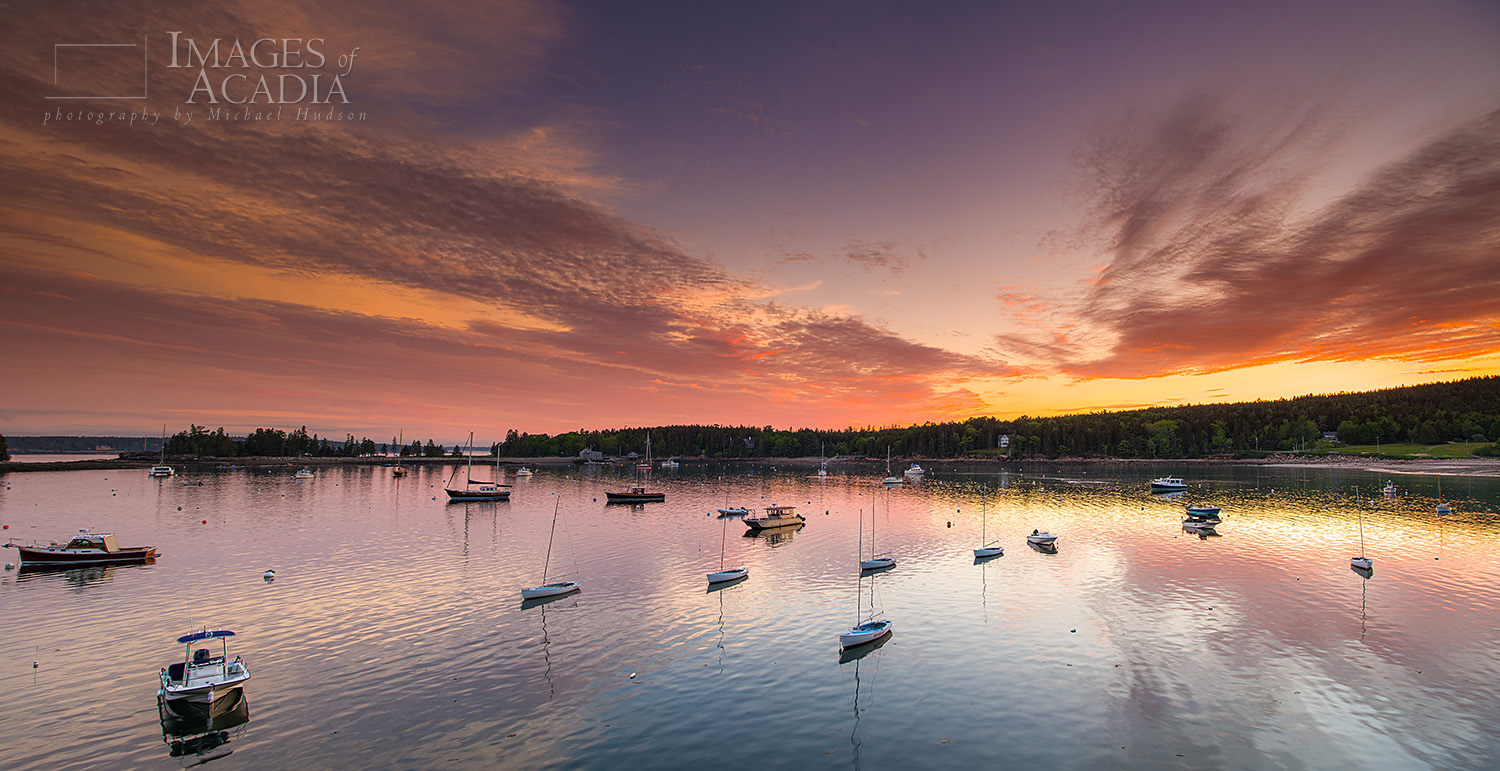
Without a graduated neutral density filter covering the upper half of the picture, the sky would’ve come out too bright and dull. The filter darkened the sky enough to retain the vibrant colors and clouds that my naked eye saw when I made the image. In the end, that’s the really useful thing about graduated filters- they help you photograph a scene as the naked eye sees it, without the limitations of what your camera’s sensor can capture.